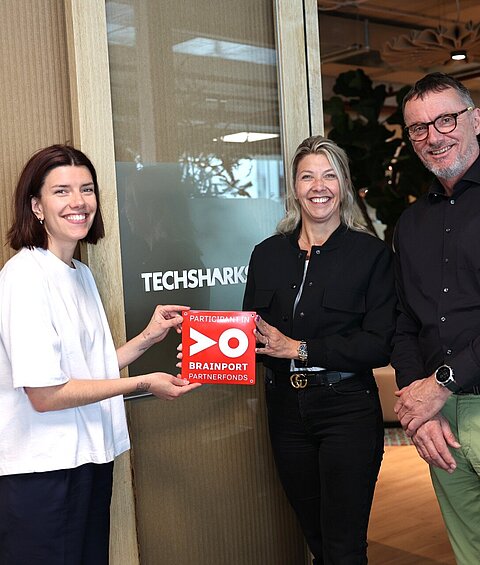
The Brainport Partner Fund unites businesses to invest in accessibility, affordable housing, technical talent, a strong labour market, and social cohesion. These efforts ensure sustainable growth and a balanced future of prosperity and well-being.
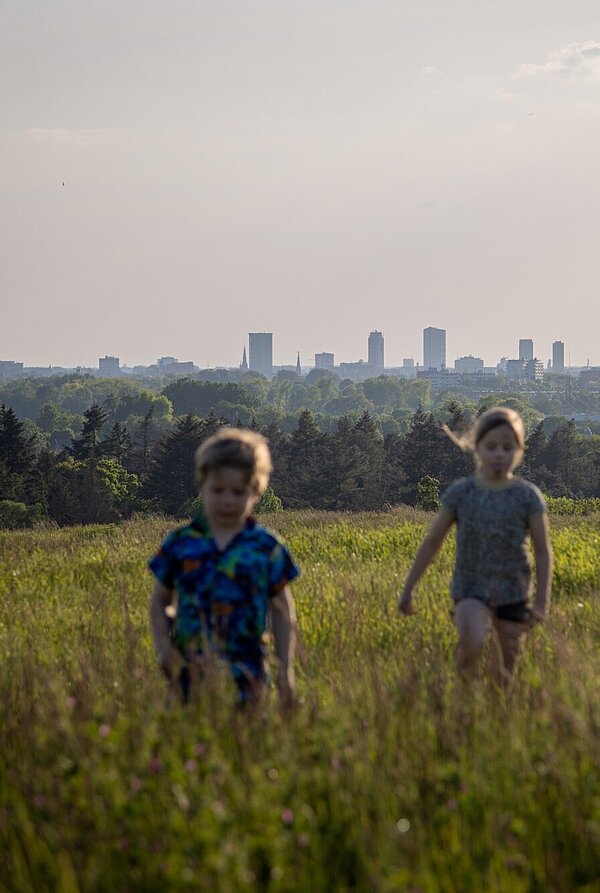
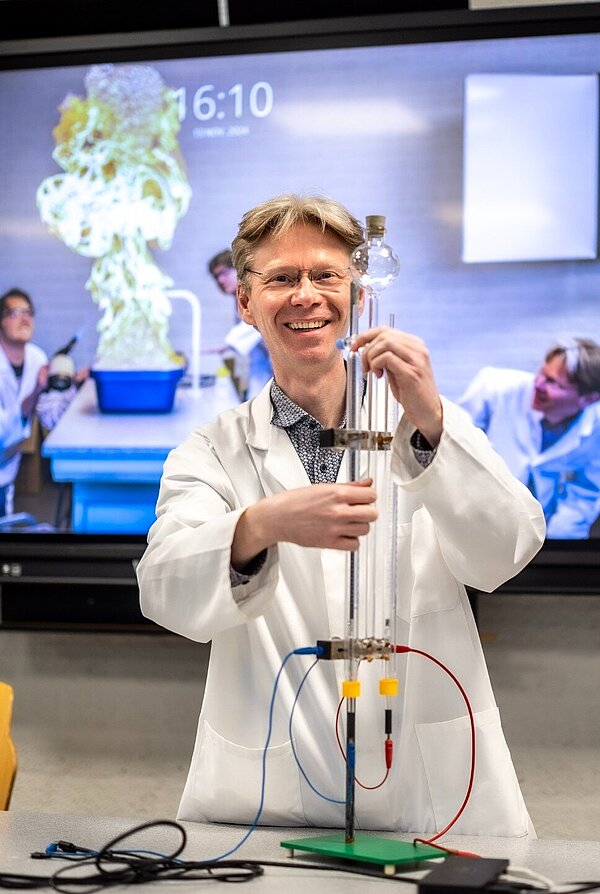
Brainport Eindhoven is a leading technology region where innovation contributes to societal challenges such as energy, mobility and health. With 21 municipalities and 800,000 inhabitants, it is small in size but with a big, global impact.
Thanks to our unique high-tech competences and the strong cooperation between industry, educational and knowledge institutions and governments, Brainport Eindhoven has become a core economic region. Together, we realise innovations for the social issues of today and tomorrow.
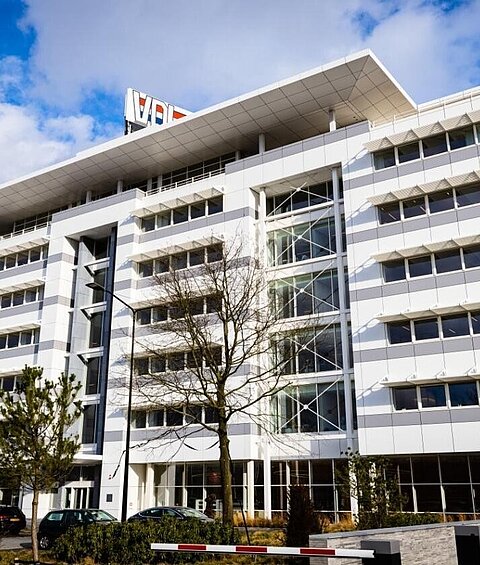
Innovatiehuis de Peel, Kempisch Ondernemers Platform, WTC Eindhoven Brainport and Brainport Development are joining forces to help SMEs further. Together they form 'Brainport for SMEs': the one-stop shop for questions about growth, personnel, sustainability and digitalisation.
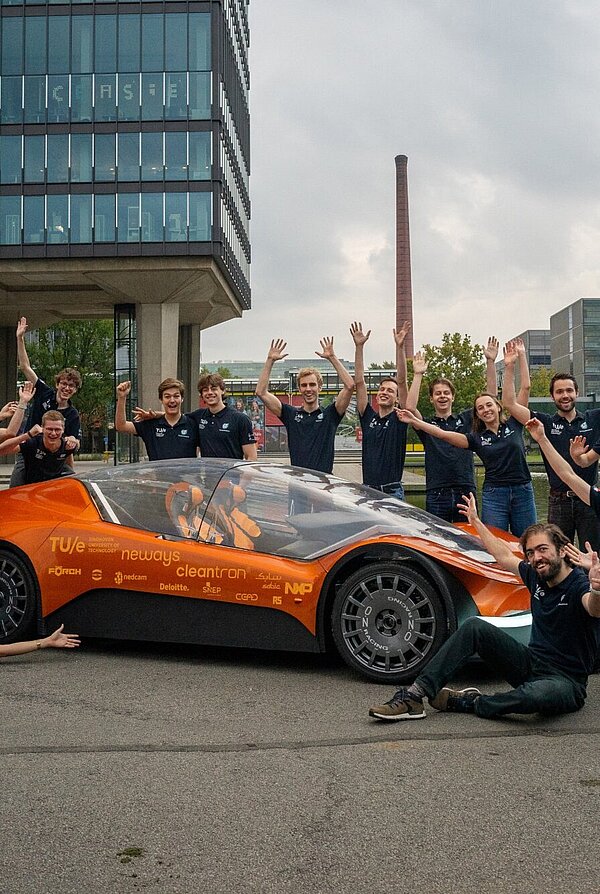
The Brainport region is fully committed to educational innovation to prepare pupils and students for a future full of technology and internationalisation. Discover inspiring activities, tools and collaborations on the platform where education and industry join forces.
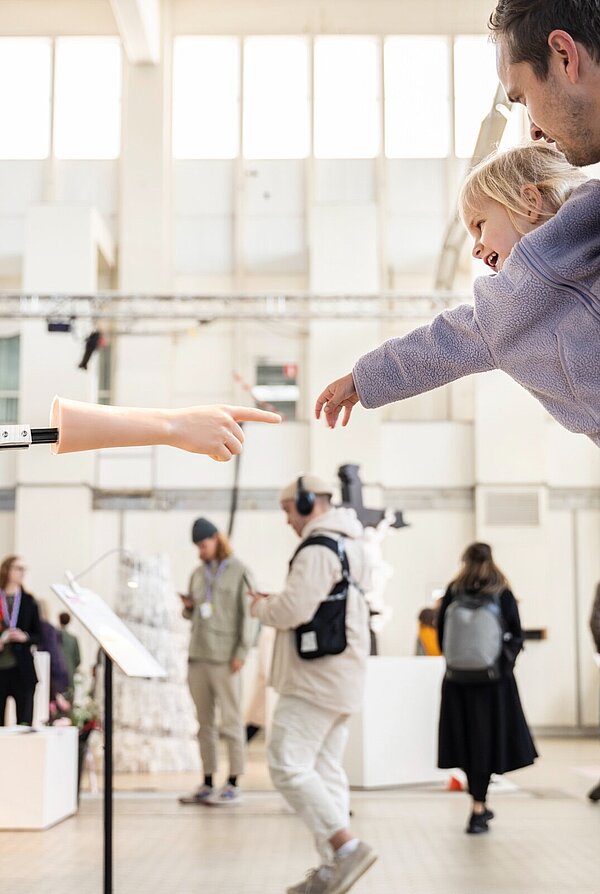
Business contributes to opportunity equality in the region
Equal opportunities for all. That is the goal of Brainport for Each Other. Our association of social employers connects companies, social organisations, municipalities and education. We join forces and work together on social issues in the region.
Based on a joint agenda, companies, educational and knowledge institutions and governments in Brainport work intensively together to strengthen the region. Maintaining a good balance between technology, talent and living and working environment is the starting point.
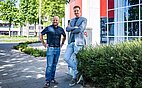
The Brainport region offers plenty of opportunities and possibilities, for everyone. And when you do something you enjoy, you automatically make use of your talents.